Leran how to create a retro-style wallpaper with this Photoshop
tutorial! This tutorial we learn how to how to create a wallpaper with
shiny textures, loads of lens flares, and bright colors.

The following are the things needed To complete this tutorial, you will need the following stocks:
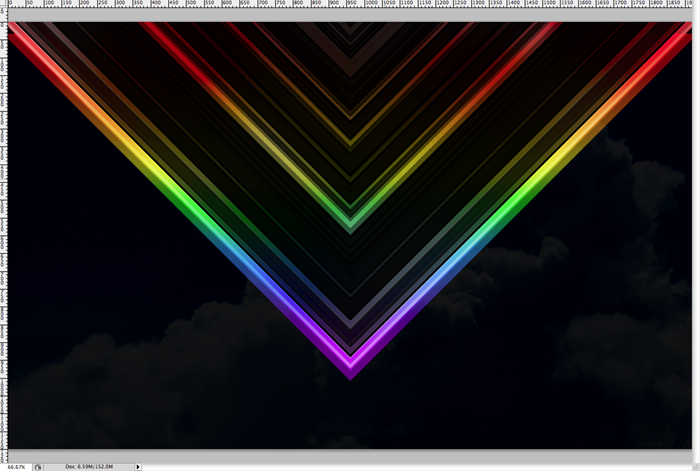
BUT: if it is completely black right now, we have problems, you’ll need to play with your black “V” shape layers so that you see some color “V” layers underneath them.




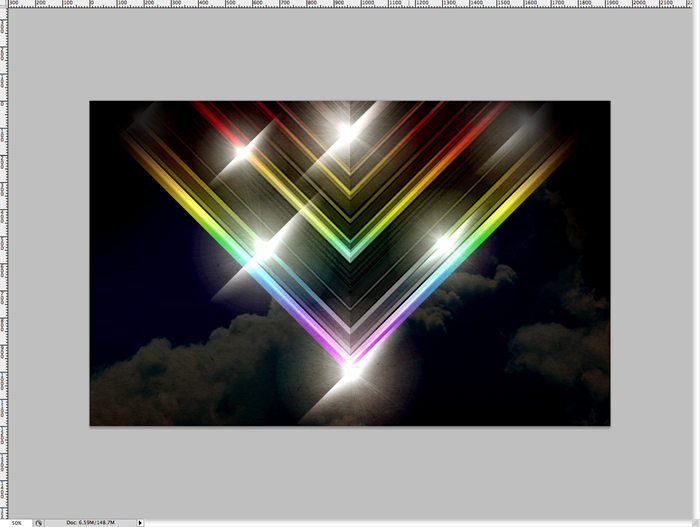
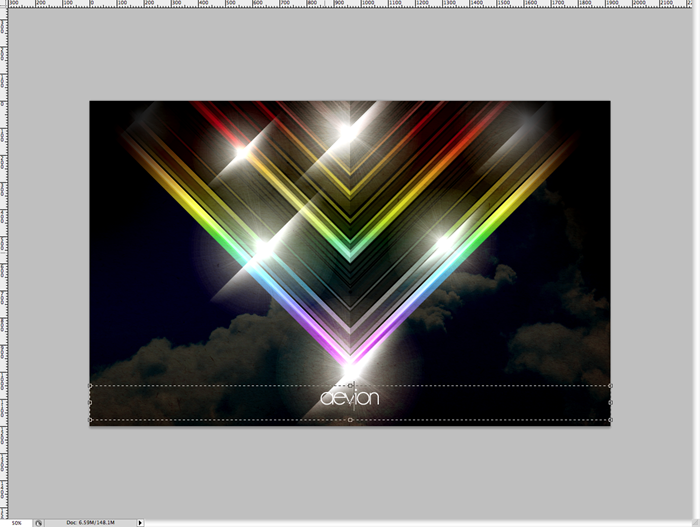
Final Results

The following are the things needed To complete this tutorial, you will need the following stocks:
Step 1
Create a new document in Photoshop. Make it 1920 by 1200 which is a standard HD Wallpaper size. Now fill the document with black.
Step 2
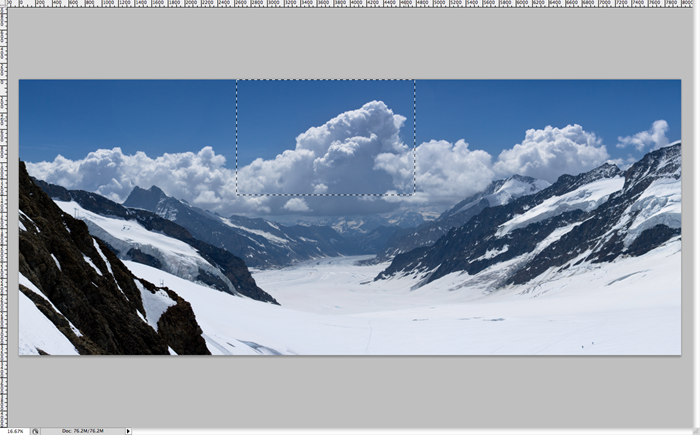
Now open up your mountain/clouds picture and select the bit of clouds that you want in your background, or choose another background that you’d like for your wallpaper.
Step 3
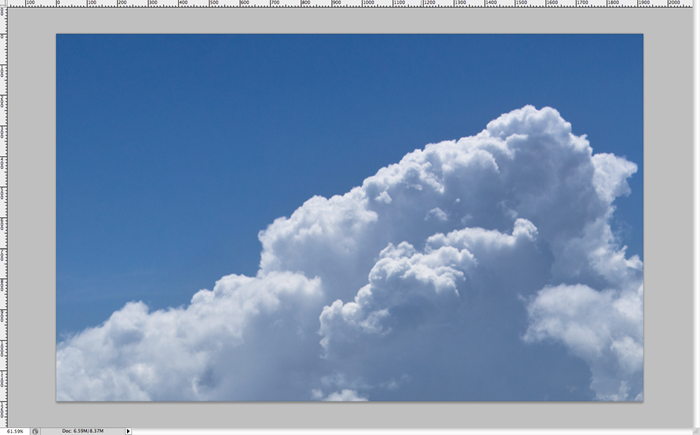
Copy and paste the image you’d like (clouds in this case) into your wallpaper.
Step 4
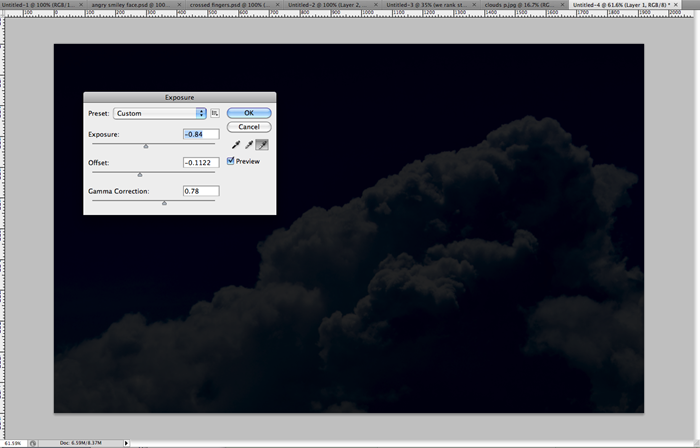
Go to Image>Adjustments>Exposure and bring down the exposure and the offset and bump up the gamma a bit. This will creat some contrast and darken up your image so it’s punchy.
Step 5
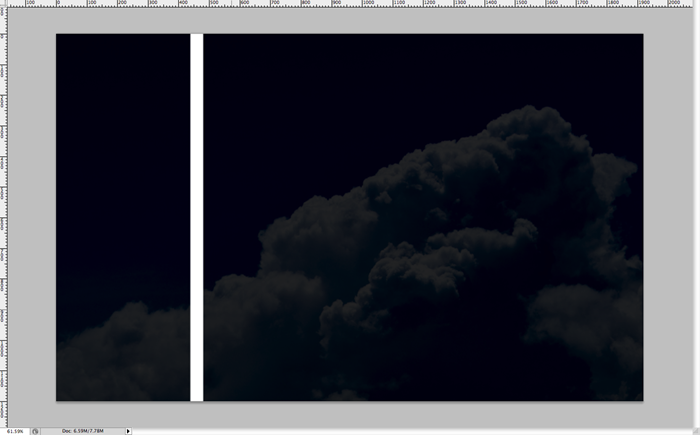
In a new layer, use your marque tool and create a rectangle and fill it with white.
Step 6
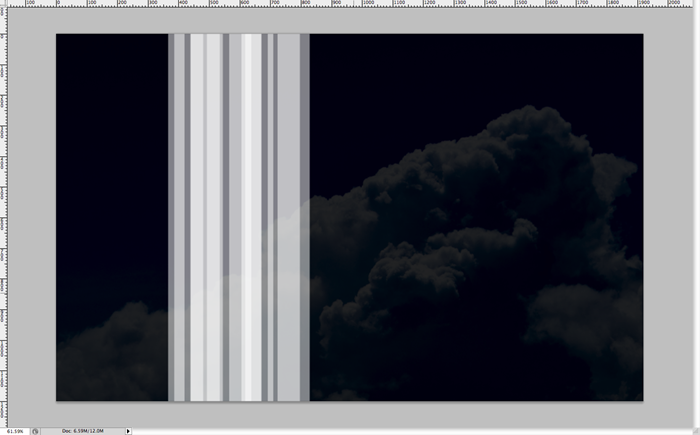
Duplicate this white rectangle layer many times and start lowering the opacities at random levels. This will create something like the image bellow.
Step 7
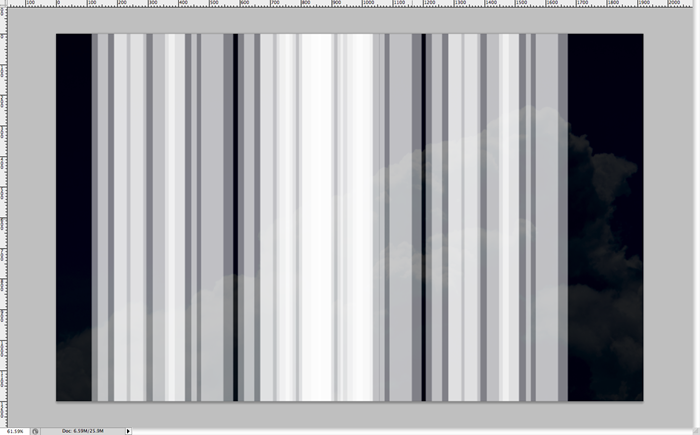
When you’ve made about 10-20 dupicated layers with random opacities then go ahead and group them (highlight them all and hit ctrl/cmd + G) and then dupicate the group a couple of times to save you time. Then simply spread out the groups of rectangles by clicking and dagging them so they look randomish. This step is purely to save you time, and you can skip it if you want the ultimate random look to your wallpaper, but it will just take you longer.
Step 8
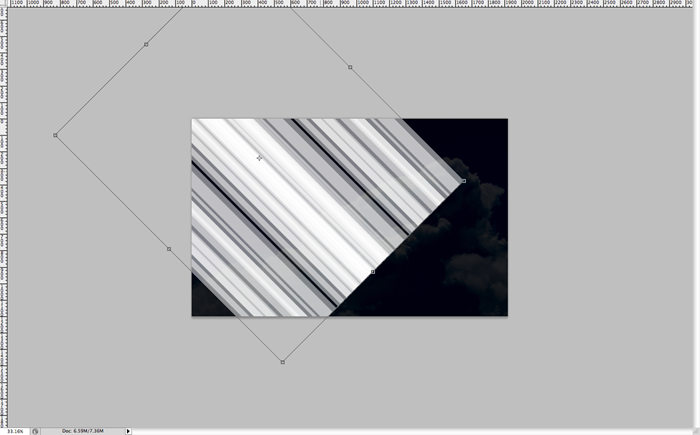
When you’re satisfied with your rectangle shape collage, form one final group with all your single rectangle group layers. If you’ve created multiple subgroups, then just group them all so that you can hit ctrl/cmd + T and rotate them all 45% to one side like so.
Step 9
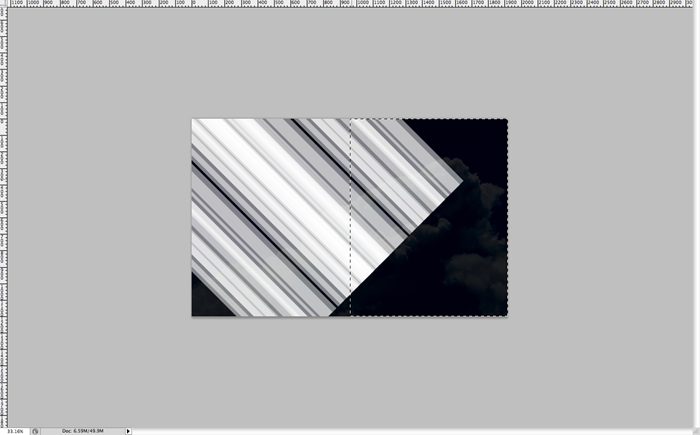
This design that we’re doing is a “V” shape, so you need to highlight exactly one half of the wallpaper (to the opposite side you rotated your rectangle group) and create a mask. This will hide the portion that you haven’t selected. Then invert the mask by hiting ctrl/cmd + I. You could also do this step by selecting the side you want to keep and hitting the mask button for the exact same result.
Step 10
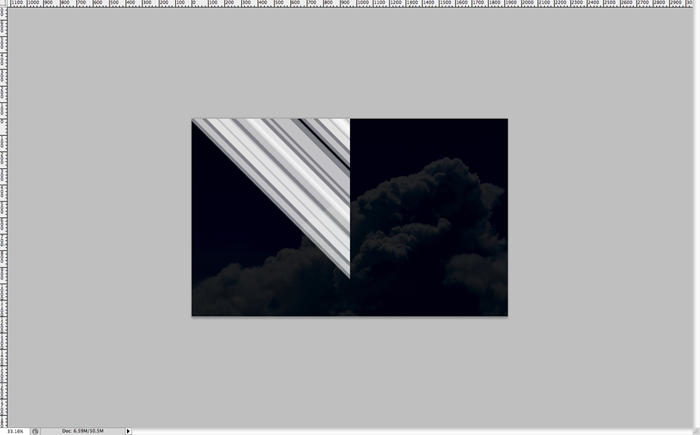
Then you can either move your group around so it looks like half of a “V” shape, or you can make a diagonal selection and mask out that region as well so you end up with something like this. You can do this editing on your mask layer by selecting it. Just remember that whatever is in white will show up, and whatever is in black will be invisible.
Step 11
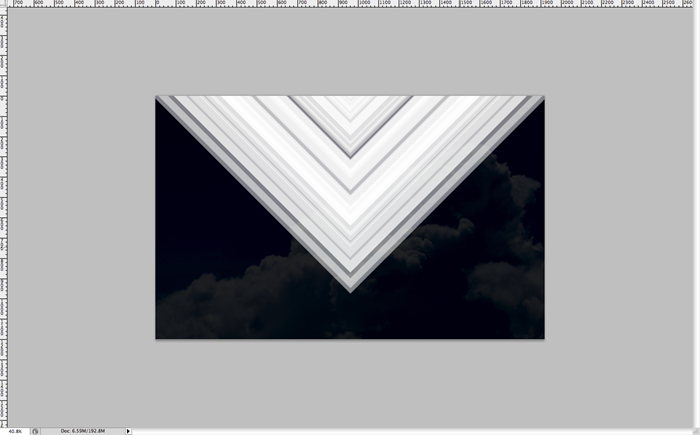
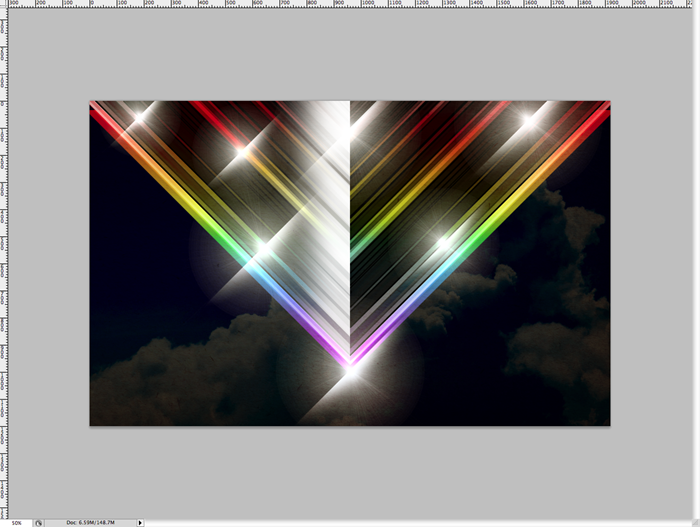
Once you’re satisfied with your masking, go ahead and duplicate the group and flip it by hitting ctrl/cmd + T, then right clicking and hitting “flip horizontal”. Now you should see something like this.
Step 12
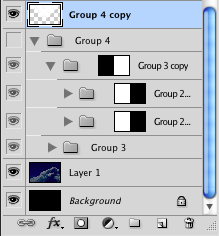
This is a checkpoint. Your layers should look similar to this. Now to save you space and memory, and make sure your computer doesn’t get bogged down by the size of the photoshop document you can duplicate this layer to make a copy, turn off the visibility (in the layers menu… it looks like an eye… click it!) and then flatten your new copy so it becomes a flat layer.
Step 13
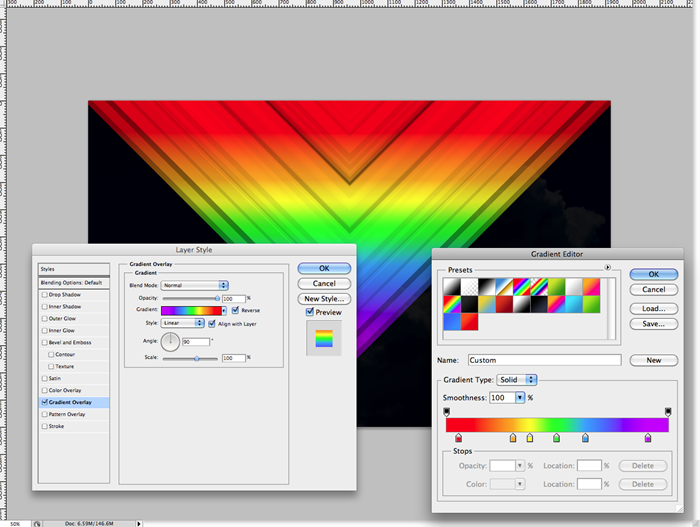
Now double click on your flattened layer to open up the layer styles, and jump down to gradient. We’re going to do a rainbow gradient so create something similar by just choosing basic a basic red, orange, yellow, green, blue, and purple and place them however you choose.
Step 14
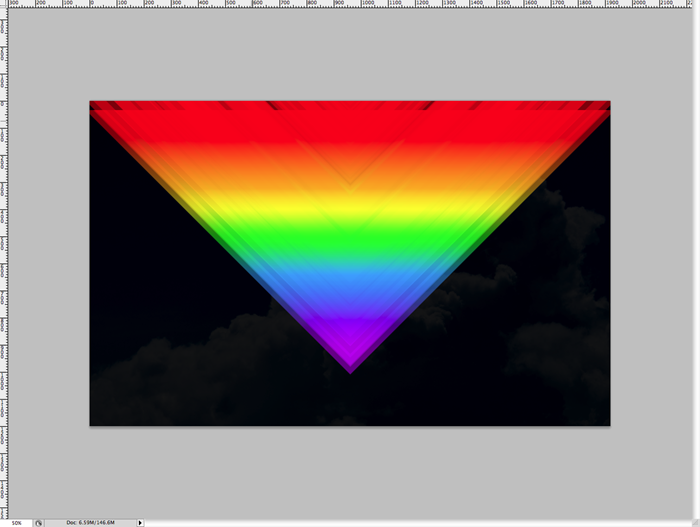
As soon as your satisfied with your gradient, duplicate the layer with all the styles and simply drag it downwards a tad.
Step 15
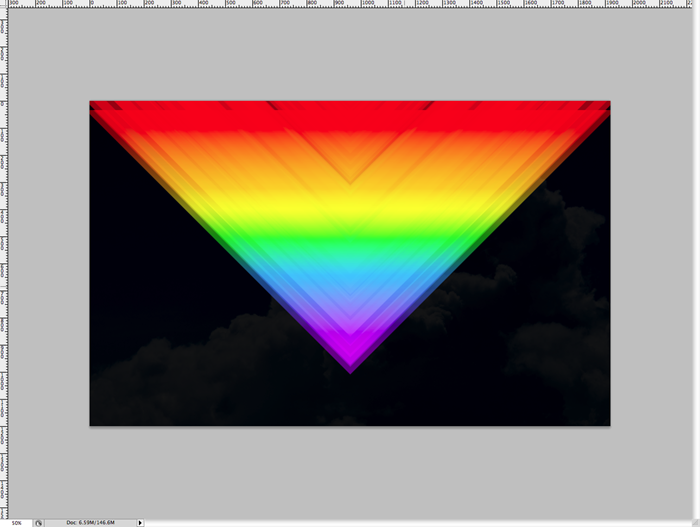
Duplicate the layer you just moved down (total of 3 “V” shape layers now) and on this duplicate, set the blending mode to “soft light” Now you’ll start to see some highlighed areas.
Step 16
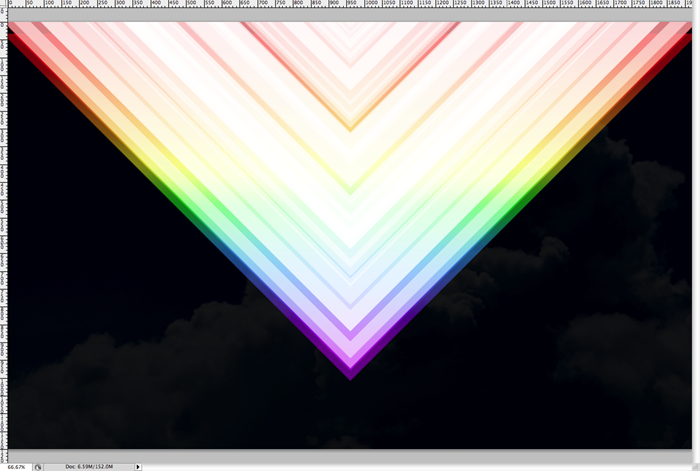
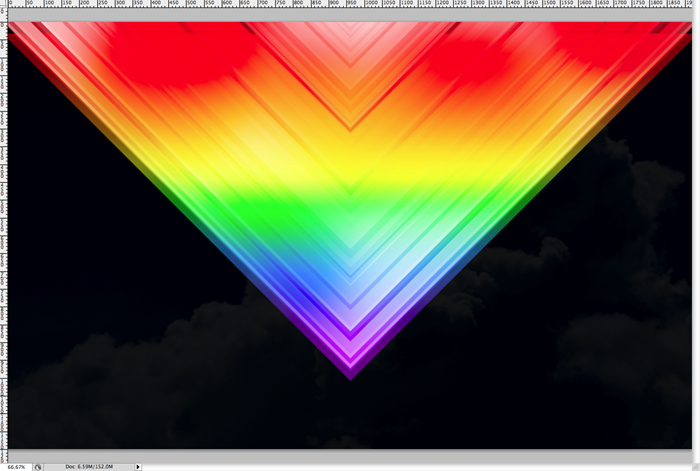
Duplicate the top layer that you just put in screen mode. Remove the layer styles, we just want it to be white. Now set the layer blending mode to “Linear Dodge” or “Add”. Now you should see major highlights like below.
Step 17
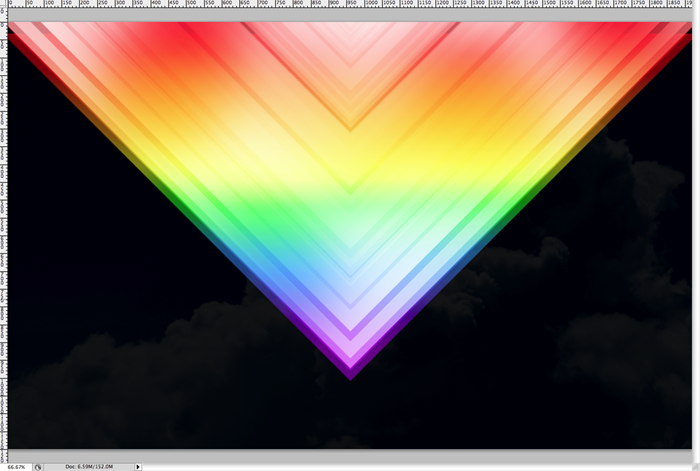
The highlighting is very intense though, so we need to take it down a notch. We’ll do this by making a layer mask on the layer set to “Add” mode. Create a mask by clicking the mask button in the layers menu and using a large soft brush with a lowered opacity, perhaps somewhere around 25%, paint blotches here and there similar to this pattern below. This just makes the light look more random.
Step 18
Now that the highlighting from the “Add” layer has been taken down a peg, you should see something like this. With bits and pieces of highlighting here and there. We want something kinda random so it looks like it’s shiny and reflecting light. The shininess is a typical retro style effect.
Step 19
Duplicate the “Add” V-shape layer and set it’s blending mode to “Overlay”. Now invert the color from white to black. We’re starting to give the shape a color contrast in the shadows now instead of the highlights.
Step 20
Duplicate the top “V” layer once more and set the blending mode to “normal”. Then set the opacity down to 50% or so.
Step 21
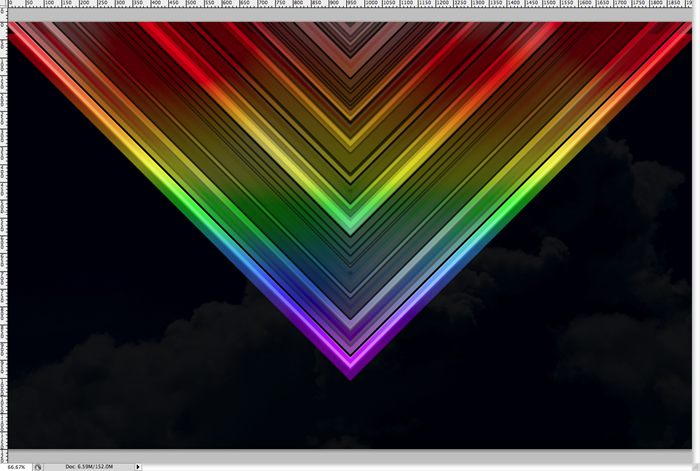
Duplicate the top layer once more keeping the blending mode at “normal” and set the opacity at 100%. Don’t be alarmed if a lot of the image has been blacked out at this point, we’ll bring back some of it in the next steps.BUT: if it is completely black right now, we have problems, you’ll need to play with your black “V” shape layers so that you see some color “V” layers underneath them.

Step 22
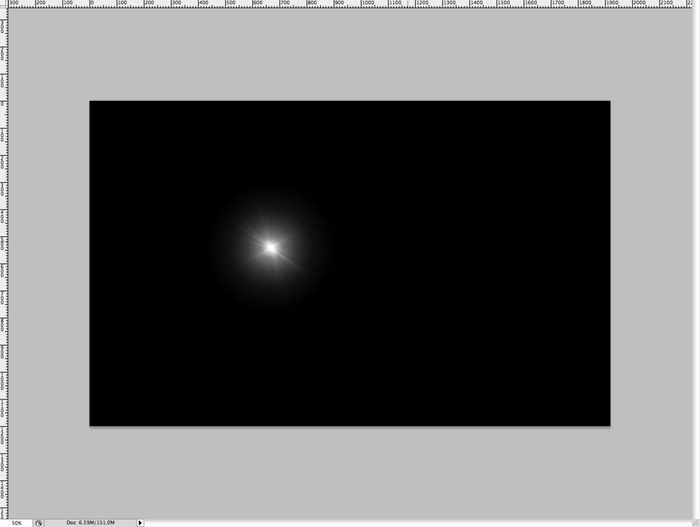
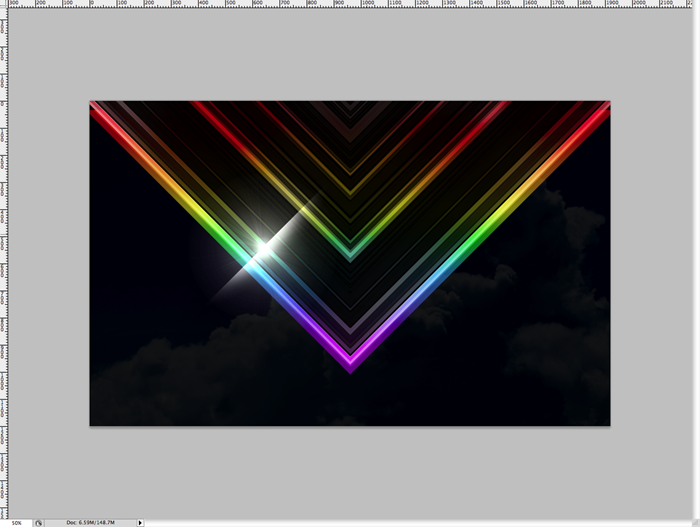
Now it’s time for the lens flares… another trademark look of the retro style. Create a new layer on top of everything else, and fill it completely with black. Then take your lens flare brush and get it to an appropriate size and place a lens flare on the canvas where it will be overtop of the “V” shape. You only want to be placing flares on your shape, but you’ll be able to move them around later.
Step 23
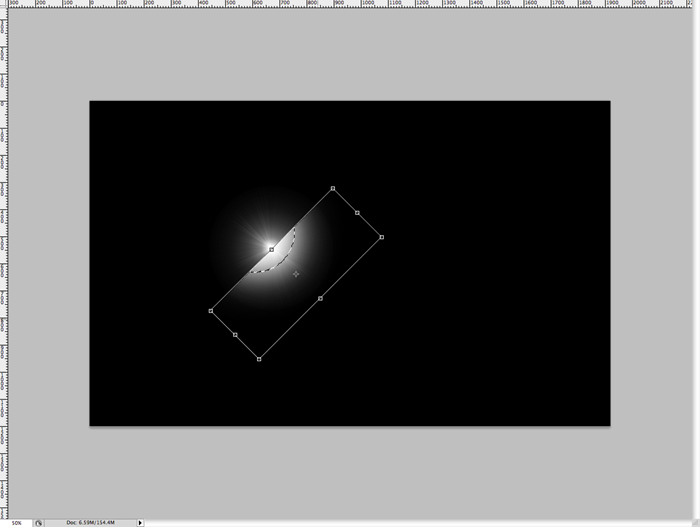
Now create a new layer and taking your marque tool, select a rectangular area on the top or bottom half (it doesn’t matter which) of your flare. We’re going to make a flare “burst”.
Step 24
Taking a large soft brush, but not too large that it’s bigger than your rectangular selection, create a white half circle like so.
Step 25
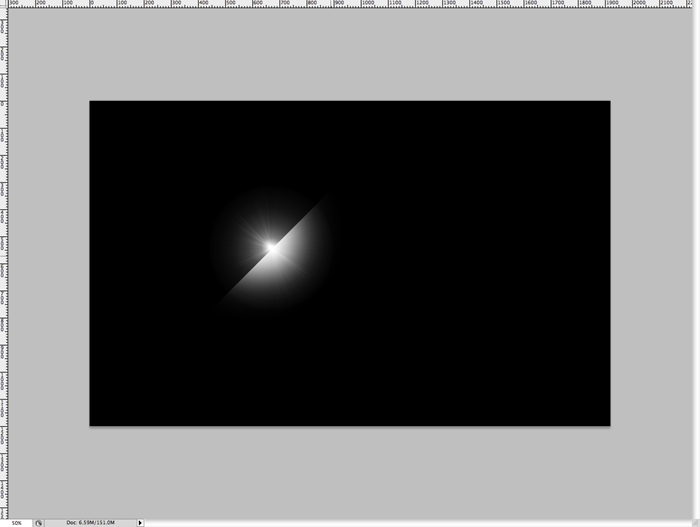
Now it ctrl/cmd + T and rotate the flare “burst” to -45% or whatever looks good to you.
Step 26
Merge the lens flare layer with the flare “burst” layer. It shouldn’t change the look, but it will make it one object that you can move around and adjust later.
Step 27
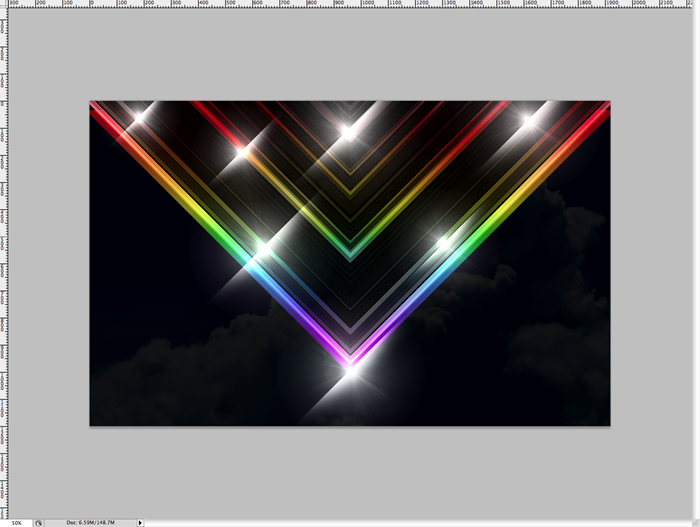
Then set the blending mode to “Linear Dodge” or “Add” mode. You should see that the light looks very intense and shiny which is exactly what we’re going for.
Step 28
Now you get to duplicate the flare layer as many times as necessary to get a good number of flares over your shape. I resized certain flares here and there so they look slightly random and unique. Once you’re done with that, group all the flares layers so you can keep track of them if you’d like.
Step 29
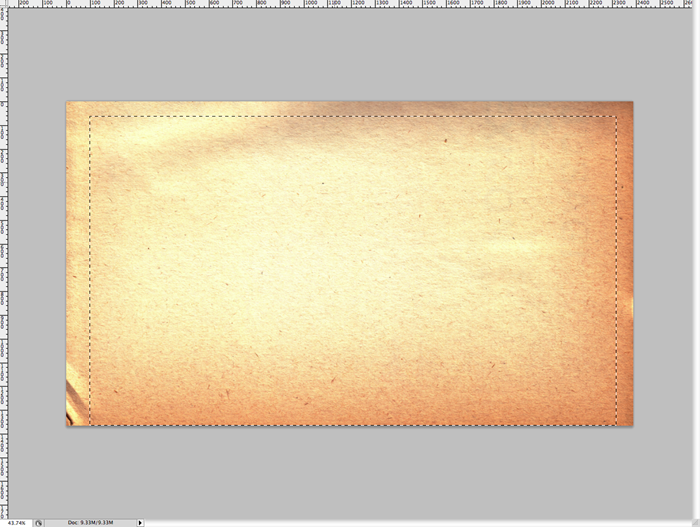
Open up your paper layer and select a good portion that you want to use. This will serve as a vintage texture, and you can get creative by finding other images with an “old” look to them like scratches or grungy textures.
Step 30
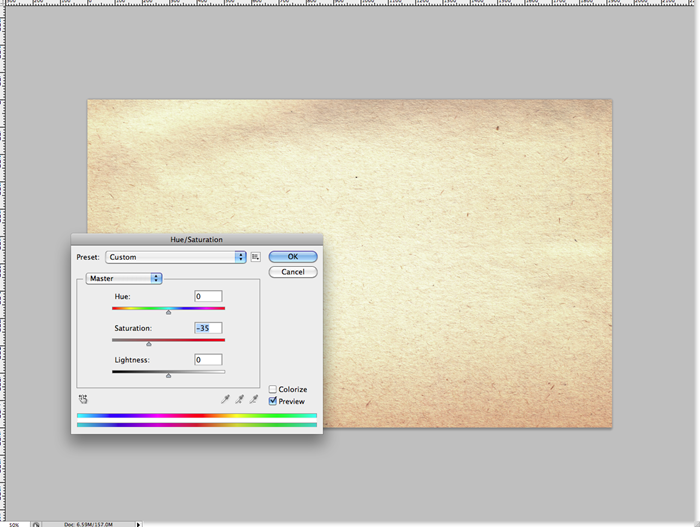
Paste the selected portion at the top of your document and take a lot of the saturation out of it. We aren’t using this layer primarily for color really, but a slight tan/yellow/orangy color is nice for retro since it makes things look old.
Step 31
Set the blending mode of your texture layer to “soft light” and set the opacity down a bit to 75% or so.
Step 32
Now select your “V” shape in it’s entirety. This may involve you holding down ctrl/cmd or shift and selecting all your “V” layers.
Step 33
Now holding the option key, subtract half of your selection. Now you should only have one half of your “V” shape highlighted.
Step 34
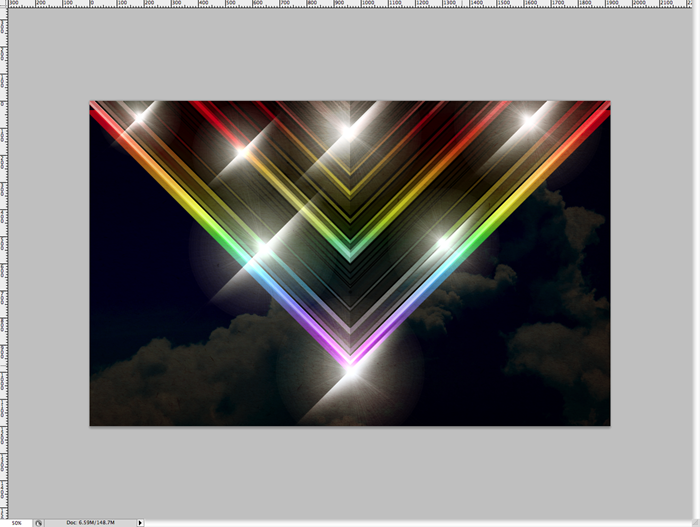
Create a white to transparent gradient and make a short gradient off to the side that you’ve selected.
Step 35
Set the layer’s blending mode to “soft light” and bump down the opacity to around 75% or so.
Step 36
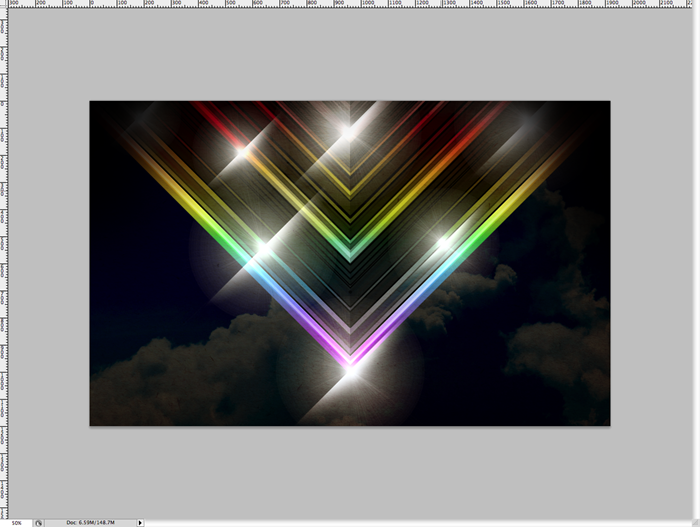
Create a new layer on the top, and using a large soft brush and the color black, paint over the upper corners of the “V”. You can use a gaussian blur if necessary to make them look right, but depending on the brush size you use you may or may not have to do this.
Step 37
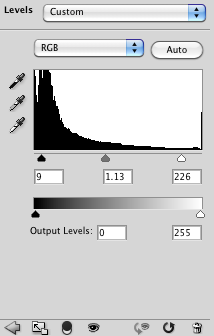
Create a new layer adjustment for “levels” at the top of your document. You can do this by clicking the button on the bottom of the layers menu, or by going to Layer>New Adjustment Layer>Levels. Now adjust the settings by moving the blacks in a bit, the whites in a bit and playing with the mids till it looks nice. Below are the settings that worked well for me. This will just give the image more contrast.
Step 38
Your wallpaper should now look similar to this. If you’re not satisfied with the level of intensity, then play with the levels adjustment layer more till it looks good to you.
Step 39
Now if you’re arrogant like me and you want to boldly sign your wallpaper, or if you want to give it a phrase or just add some text, you can do that torwards the bottom of the “V” shape, and it looks nice there.

Comments
Post a Comment